 EN

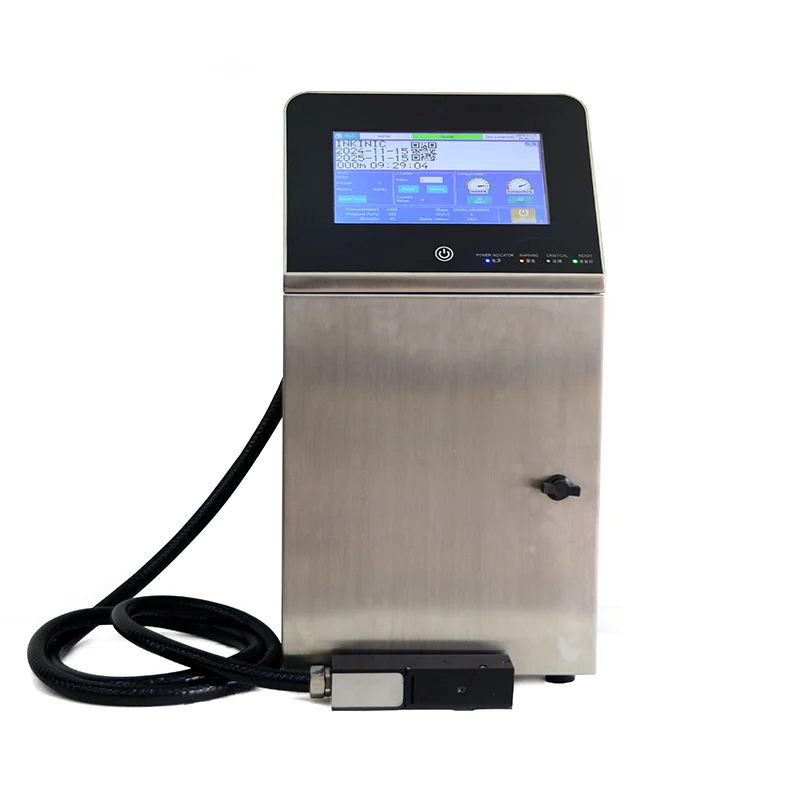
Daily and Preventive Nozzle Maintenance for Continuous Inkjet Printers
Routine inspection checklist: visual checks, pressure stability, and ink flow consistency
A disciplined daily inspection prevents most nozzle failures before they affect code quality. Begin with visual checks of the nozzle, gutter, and printhead cover—look for dried ink crust, solvent haze, or scattered drops, all signs of improper stream breakoff. Confirm ink and solvent levels are within the operating range and that no air bubbles appear in the supply line. Next, verify pressure stability by reading the ink pump and nozzle pressure on the operator panel; values should remain steady and align with fluid specifications—drift often indicates a blocked damper or worn filter. Finally, observe the ink jet during a short print run: a straight, continuous stream with even breakoff and no satellite droplets confirms consistent ink flow. If the stream bends, pulses, or wets the gutter, stop the line and clean the printhead before the next shift. Record each observation—subtle changes become early warnings of drift or clogging.
Proper use of OEM-approved cleaning solvents and automated purge cycles
Use only OEM-approved cleaning solvents on the nozzle, gutter, and ink return path. Generic alcohol- or ketone-based cleaners risk degrading seals, swelling O-rings, or altering ink conductivity—causing print defects and costly repairs. Before manual cleaning, execute a controlled stop so the nozzle retracts to its protected home position. Apply solvent to a lint-free swab and gently wipe dried ink from the nozzle face and charge electrode—never soak the printhead or scrape with metal tools. Then run the printer’s automated purge cycle, which flushes the nozzle, gutter, and return path with fresh solvent and helps reset drop breakoff. After purging, run one test print to confirm clean drop formation and full solvent evaporation. Replace the solvent container before it becomes saturated with dissolved ink—OEM guidance recommends replacement after every 40–60 hours of active purge time or when viscosity increases noticeably.
Diagnosing and Resolving Nozzle Clogging in Continuous Inkjet Printers
Root causes: solvent evaporation, particulate contamination, and ink formulation breakdown
Nozzle clogging in CIJ printers rarely stems from a single factor. The three primary root causes are solvent evaporation, particulate contamination, and ink formulation breakdown. When idle, quick-drying solvent evaporates from the nozzle plate, leaving behind dried ink deposits inside the orifice—per 2023 OEM service reports, this is the leading cause of clogs. Particulate contamination enters via ambient dust, debris, or dislodged ink flakes in the recirculating system; even sub-10-micron particles can disrupt jet continuity. Ink formulation breakdown occurs when incompatible inks, expired solvents, or non-OEM refills trigger pigment agglomeration or conductive salt precipitation. In recirculating systems, solvent loss also raises viscosity—accelerating sludge formation and narrowing the nozzle opening. While preventive purges with OEM-approved solvent mitigate evaporation-related buildup, they cannot resolve chemically unstable or contaminated ink.
Step-by-step clog diagnosis using nozzle check patterns and diagnostic mode outputs
Begin with a nozzle check pattern: a healthy CIJ produces uninterrupted lines with uniform drop placement. Missing segments, deflected jets, or satellite droplets signal trouble. Next, enter diagnostic mode to review pressure stability and firing-pattern monitors—pressure fluctuation often reflects partial blockage or air intrusion. Inspect gutter flow: weak or misaligned capture suggests nozzle buildup. Run a short purge and reprint the check pattern. Improvement points to soft dried ink; persistent deflections warrant closer inspection. Use an optical loupe—or the printer’s built-in optical detection—to examine the nozzle plate. Compare before-and-after outputs: partial recovery suggests particulate contamination; no recovery indicates hard sludge or formulation failure. Log the pattern result, pressure value, and purge count to support trend analysis and predictive maintenance planning.
Post-Maintenance Verification and Continuous Inkjet Printer Nozzle Stabilization
Critical verification steps: gutter alignment, leak detection, startup cycle validation, and sample print analysis
After cleaning or replacing the nozzle, verify gutter alignment so the ink stream lands fully inside the gutter opening without splashing or drift. Adjust the gutter in small increments until capture is clean and stable. Check all fittings, seals, and solvent lines for ink or solvent leaks—even minor seepage destabilizes pressure and invites repeat faults. Run a full startup cycle and confirm pressure reaches the manufacturer’s specified range while maintaining steady ink flow throughout ramp-up. Print a sample block or nozzle check pattern and inspect for missing dots, deflected jets, or irregular drop placement. For deeper insight, use high-speed camera or stroboscopic visualization to detect intermittent jetting defects invisible in static prints. Record baseline values for vacuum, pressure, and drop charge voltage; these serve as reference points for future comparisons and early drift detection.
Ink stream realignment and stabilization protocols to restore drop formation accuracy
If print analysis reveals jet misalignment, adjust the charge electrode or deflection plate per the printer’s service manual. Use built-in test modes to visualize drop breakoff timing and trajectory—only adjust drive voltage or modulation settings within OEM-approved ranges. Wait for ink temperature to stabilize before final adjustments, as viscosity shifts directly affect breakoff position. Run a short production sample and confirm uniform drop formation with no satellites or merging. Repeat startup and shutdown cycles to validate alignment retention across thermal cycling. Save final parameter settings to the printer’s configuration file so corrected values load automatically at next startup—ensuring repeatability and minimizing operator-dependent variability.
FAQ Section
How often should Continuous Inkjet Printer nozzles be cleaned?
Daily inspections and preventive cleaning using OEM-approved solvents are recommended. Automated purge cycles should be performed regularly, and solvent containers replaced as per the manufacturer’s guidelines.
What are common causes of nozzle clogging?
Solvent evaporation, particulate contamination, and ink formulation breakdown are primary causes. Contamination can occur due to ambient dust, dried ink deposits, or incompatible ink formulations.
What should I do if nozzle misalignment persists after adjustments?
If issues persist, recalibrate according to the printer service manual, inspect drop breakoff timing and trajectory using test modes, and confirm any viscosity-related factors by stabilizing ink temperature.